3d. Try Docker in a web browser via Play with Docker

Goal
The goal of this task is to build a simple Docker container image and run it as if it were used locally on your computer.
Instructions
Start the Play with Docker Environment
Go to https://labs.play-with-docker.com/ and log in with your Docker Hub account.
If it is the first time you are logging in, Play With Docker will request access to your Docker account. Click on the “Accept” button to proceed. Than click the large green “Start” button to start the environment.
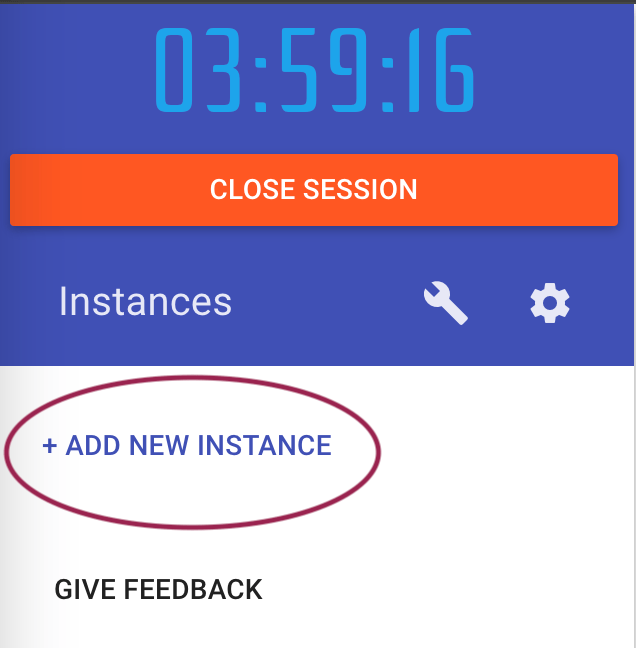
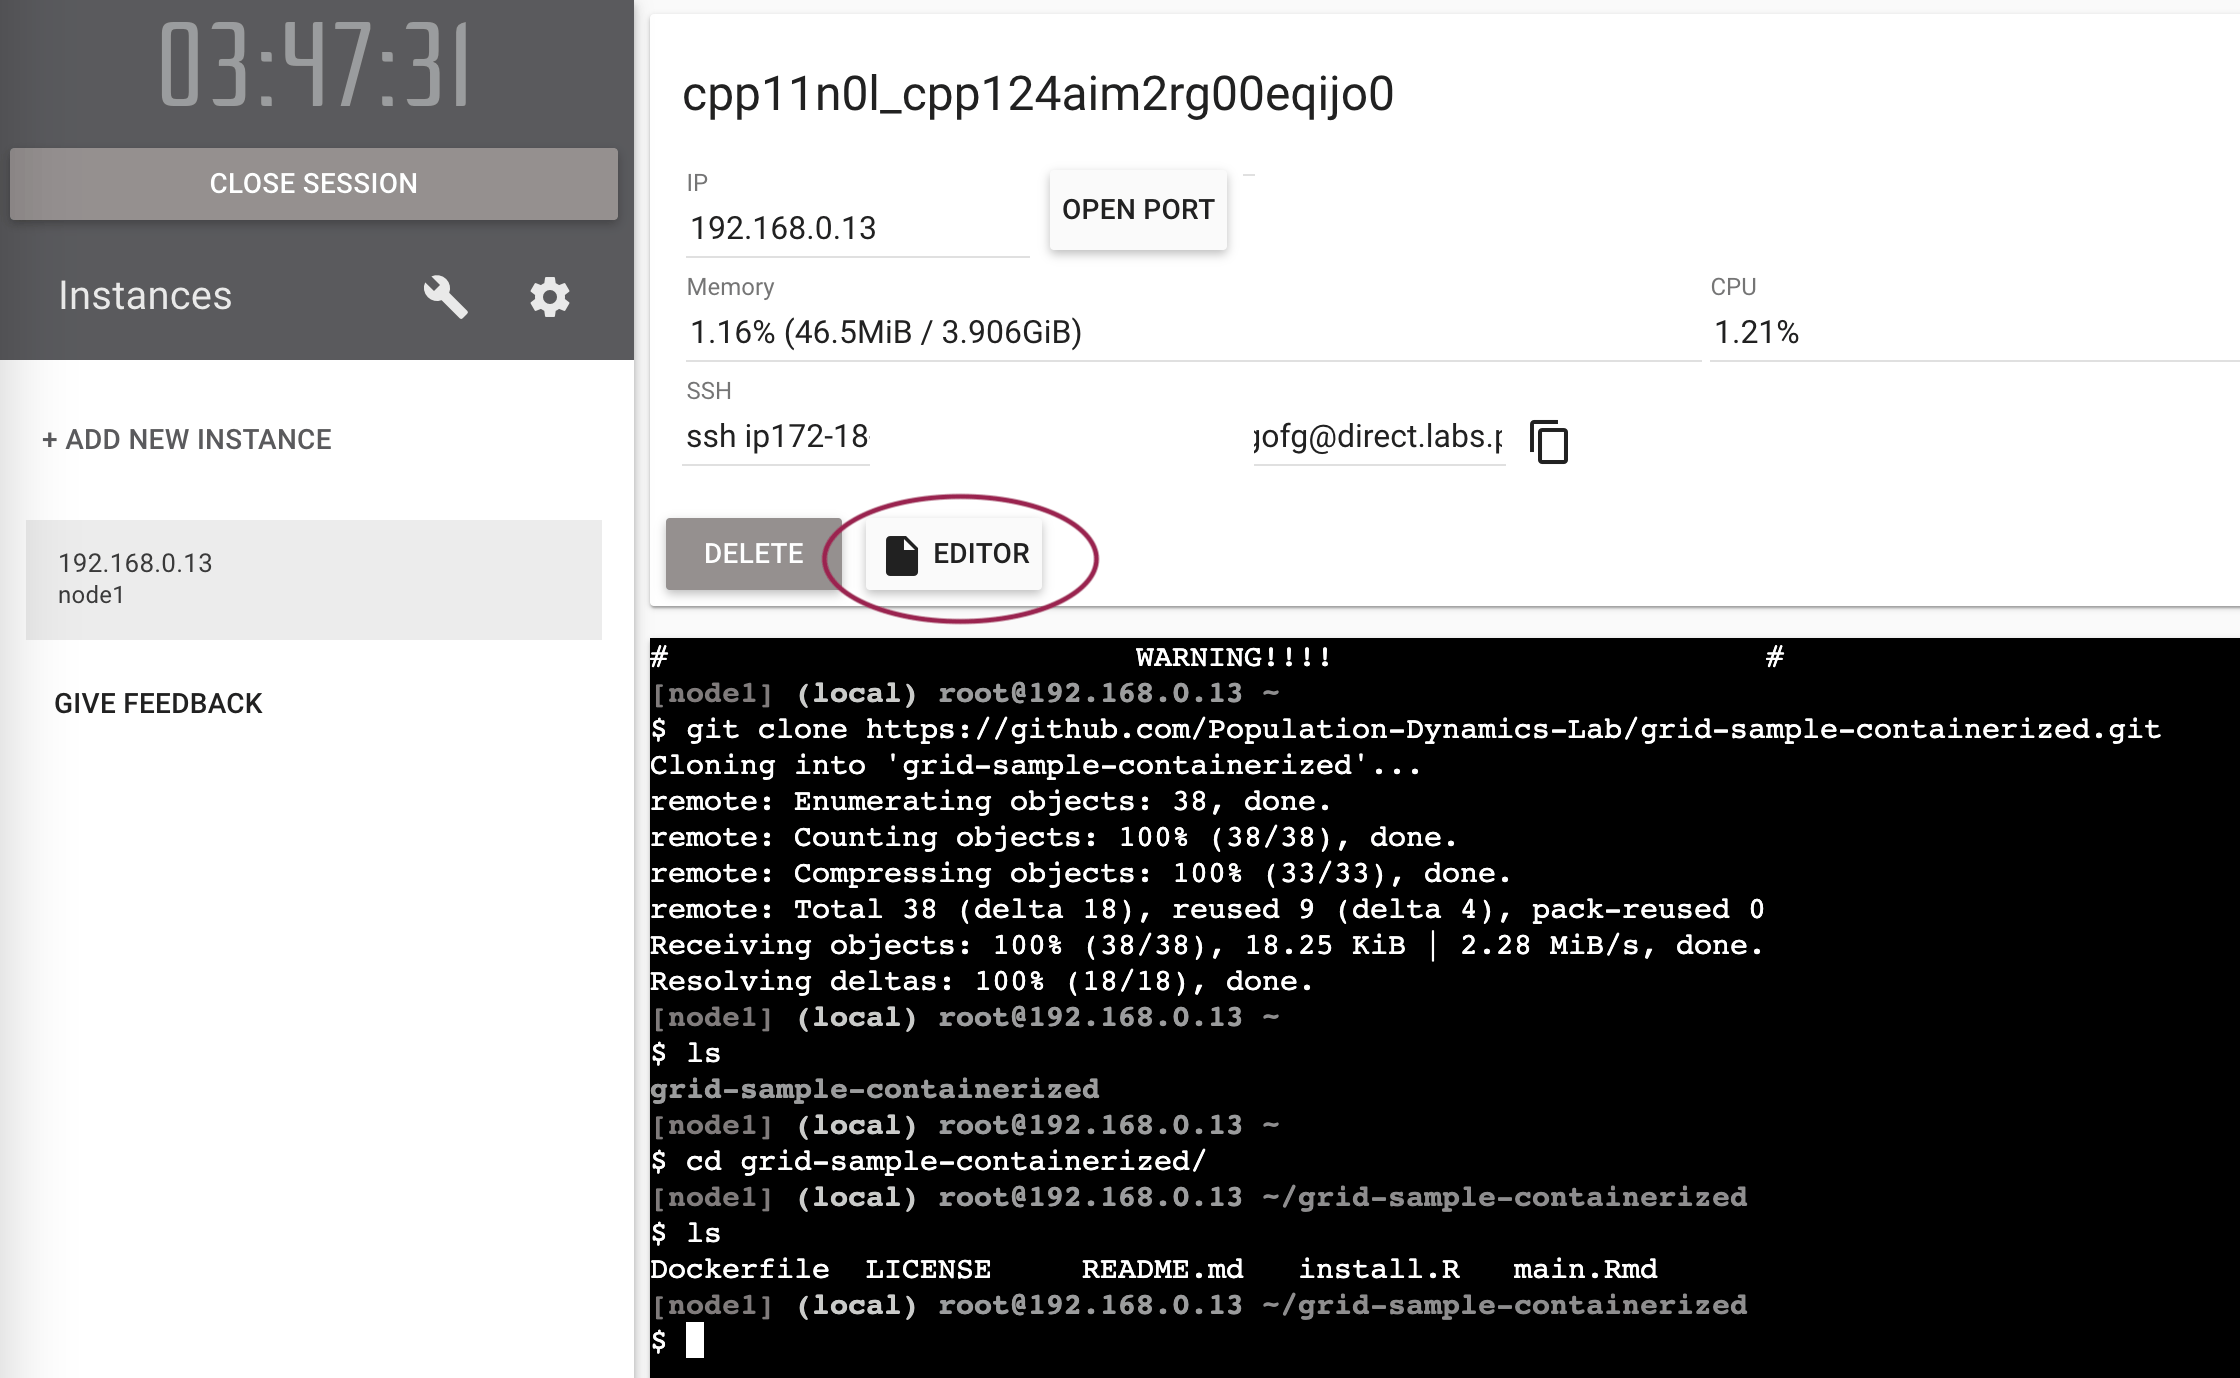
Click on the “Add New Instance” button to start a new Docker container instance.
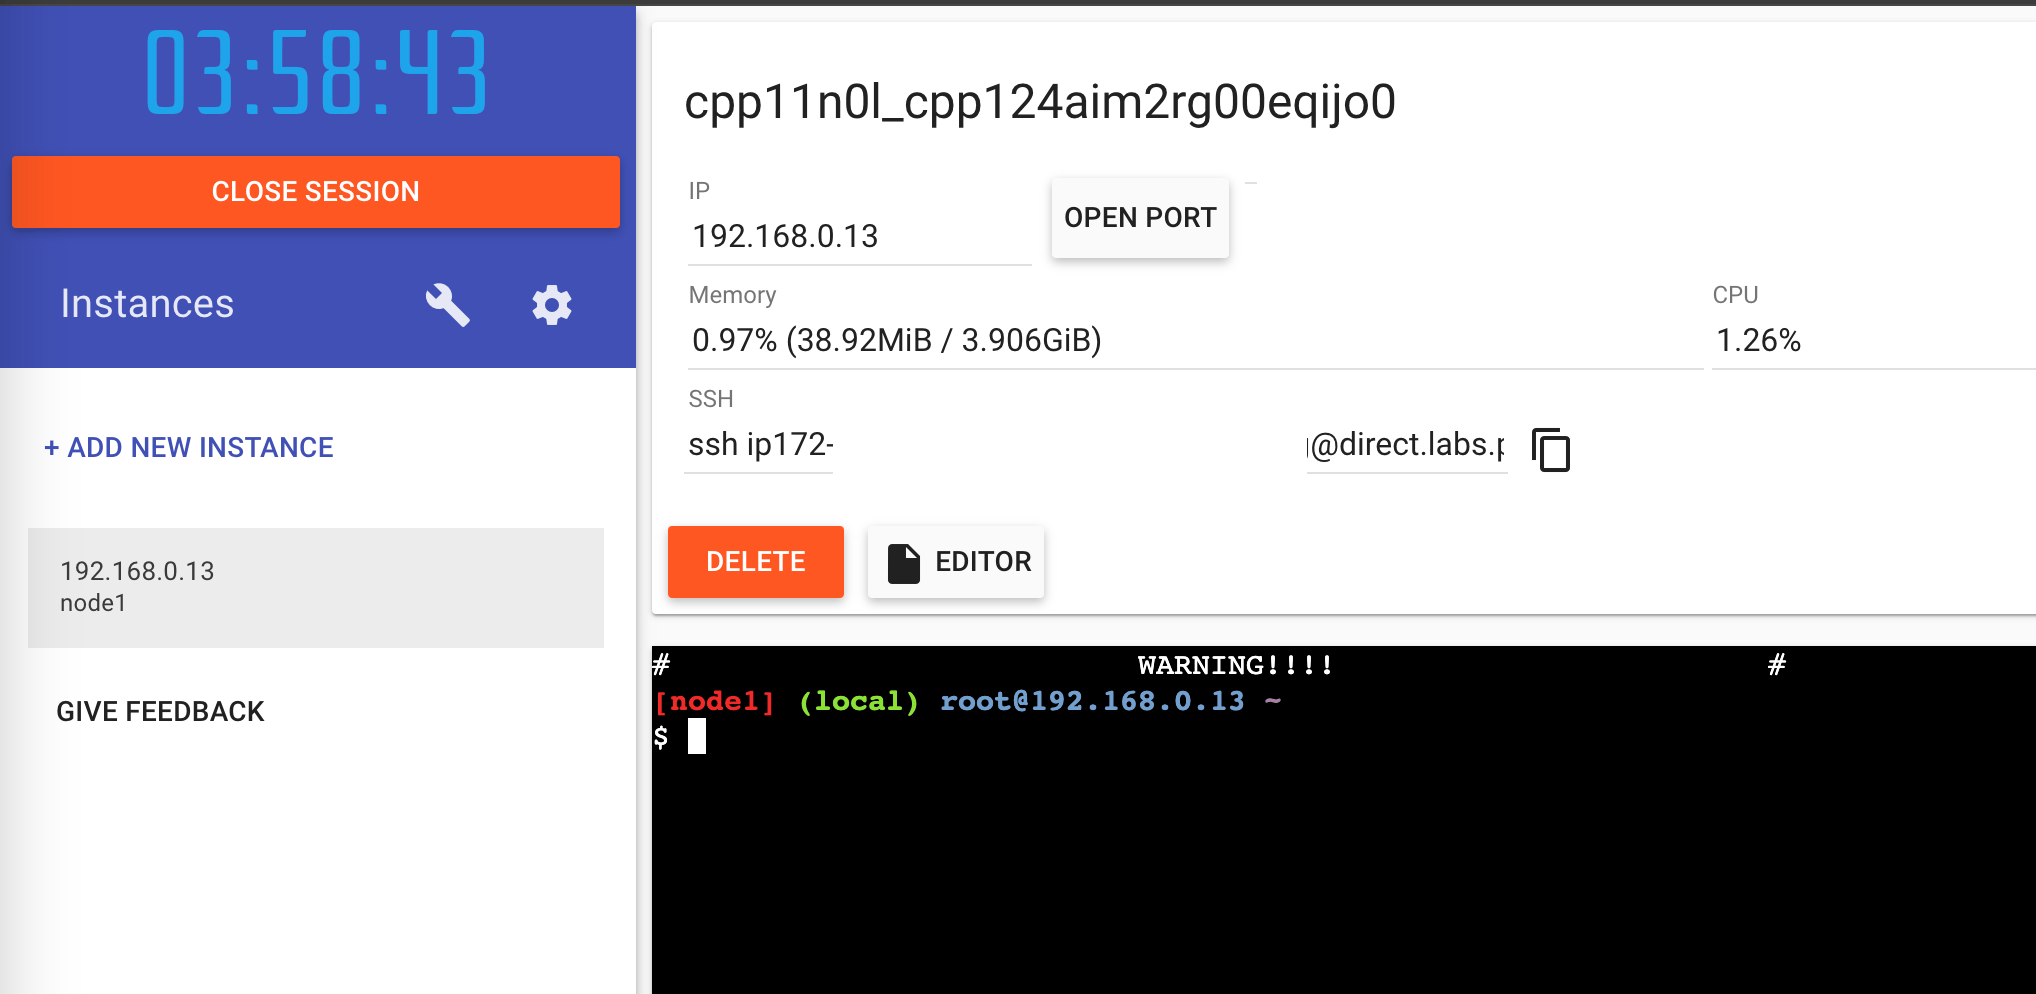
You should get a new terminal window with a prompt that looks like this:
Clone the Repository
Use our repository at https://github.com/e-kotov/2025-mpidr-workflows-reference-03pwd and copy the https link for cloning it:
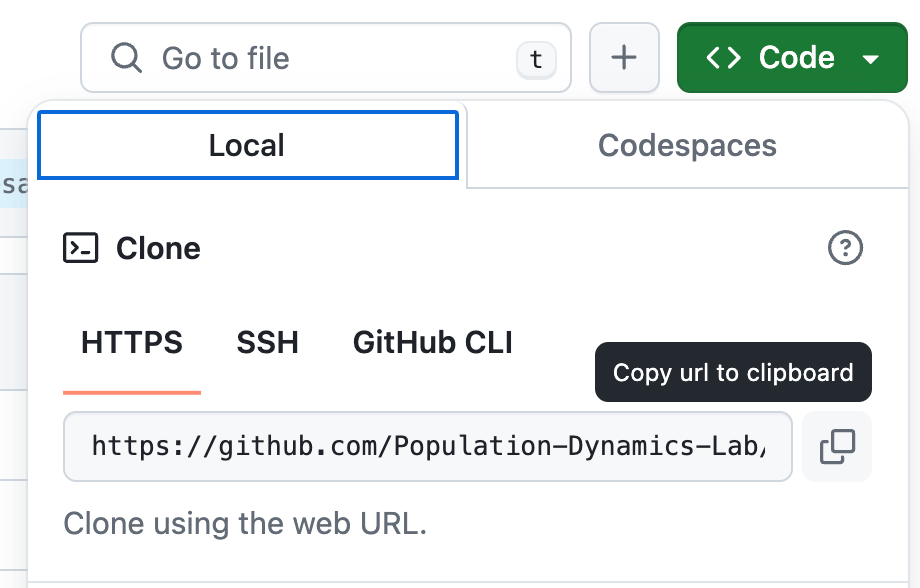
Now clone the repository by pasting the following command into the terminal (adjust for your own repository if neccessary):
git clone https://github.com/e-kotov/2025-mpidr-workflows-reference-03pwdSwitch to the new directory:
cd 2025-mpidr-workflows-reference-03pwdList files:
ls -alhYou should get:
$ ls -alh
total 40K
drwxr-xr-x    5 root     root          88 Mar 18 06:47 .
drwx------    1 root     root          65 Mar 18 06:48 ..
-rw-r--r--    1 root     root          26 Mar 18 06:47 .Rprofile
drwxr-xr-x    8 root     root         163 Mar 18 06:47 .git
drwxr-xr-x    2 root     root          24 Mar 18 06:47 Dockerfile4build
drwxr-xr-x    2 root     root          63 Mar 18 06:47 renv
-rw-r--r--    1 root     root       34.1K Mar 18 06:47 renv.lock
Check the Dockerfile
Find the editor button in the middle of the screen and click on it.
A very simple file browser and editor (displayed when you click a file) will appear. You can edit the files in the repository directly in the browser. It will not have any syntax highlighting. Remember to save changes with a Save button in that window if you edit a file.
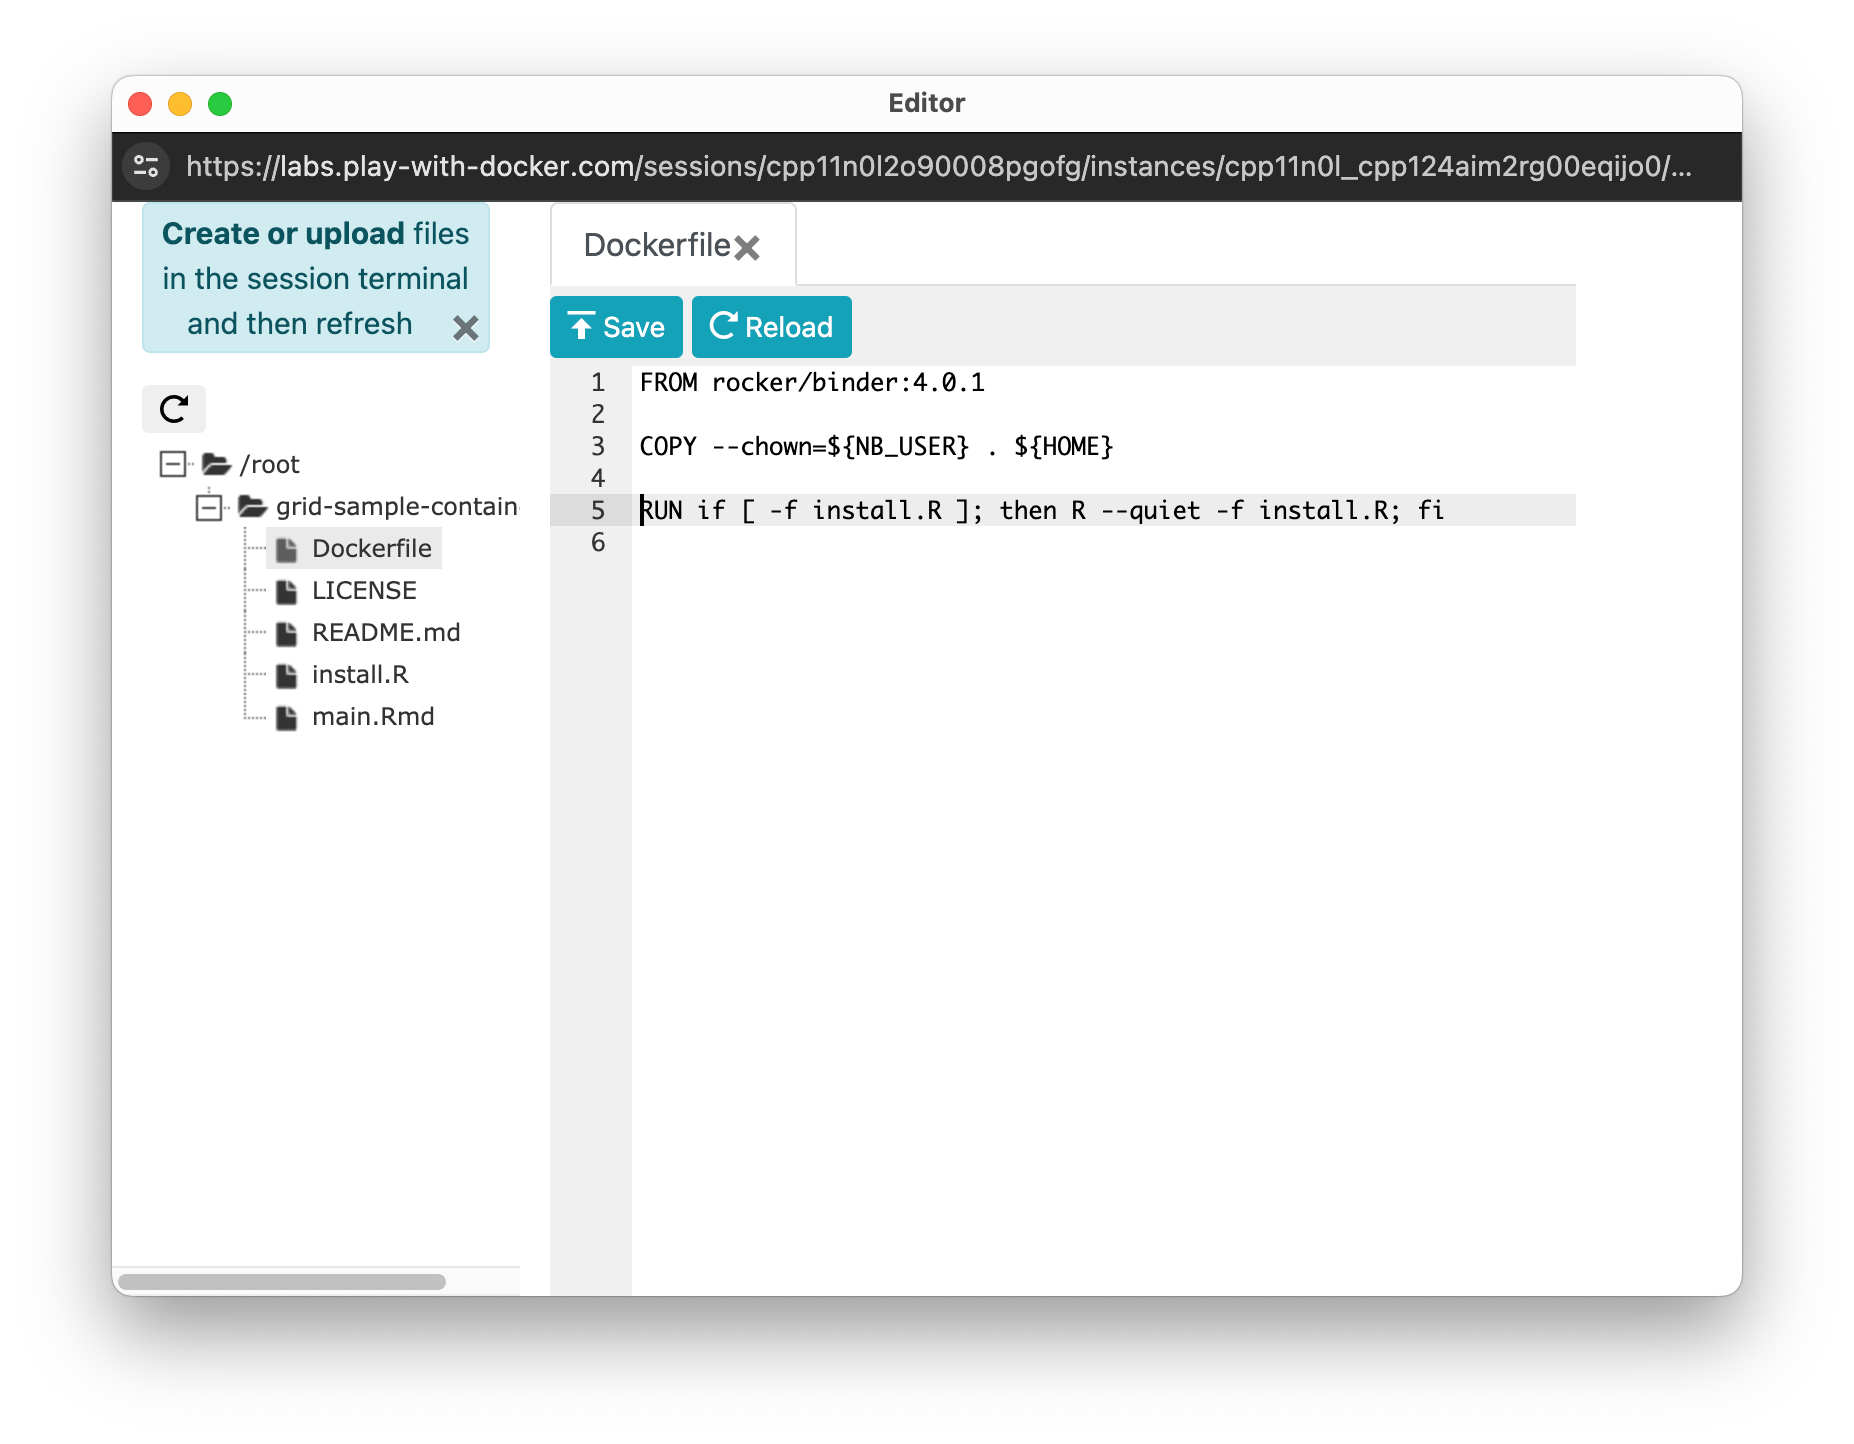
Dockerfile, please disregard the text in the screenshotBuild the Container Image from the Dockerfile
To build the Docker container image from the Dockerfile, run the following command in the Play with Docker terminal (you can use any name instead of rstudio-custom - this is just a tag that you can use to refer to the container image later):
docker build -f Dockerfile4build/Dockerfile -t rstudio-custom .The container image will take about 3-6 minutes to build.
Let us break down this command:
| part of command | what it does |
|---|---|
docker build |
This is the base command used to build a Docker image from a Dockerfile. |
-f Dockerfile4build/Dockerfile |
The -f flag stands for “file”. Dockerfile4build/Dockerfile is the path to the Dockerfile. |
-t rstudio-custom |
The -t flag stands for “tag”. rstudio-custom is the name of the image. You can choose any other name. |
. |
this very important . (dot) specifies the build context, which is the current directory. Docker will look for a Dockerfile in this directory to create the image. |
When the build is finished, you can check that it was added to the local container image storage:
docker imagesRun the Docker Container from your Image
Now you have a container image that you can run from the command line. To do so, run the following command in the terminal:
docker run --rm -p 8787:8787 -v $(pwd):/home/rstudio -e PASSWORD=somepass rstudio-customLet us break down this command:
| part of command | what it does |
|---|---|
docker run |
This is the base command used to run a Docker container from local or remote container image storage. |
--rm | This makes the container temporary. It will be destroyed after you stop it. You can explore other options (e.g. how to name containers, make them persistent and re-run the same ones after stopping) in the Docker documentation. But for now we want a disposable container that is destroyed after stopping. |-p 8787:8787 | This flag specifies that the port inside the container is mapped to your computer, so that you can access RStudio in a web browser. Briefly, RStudio in a container is actually a server software that works over a network and it is not exactly the same as RStudio on your laptop, even though it feels that way. This is why ports are necessary, but do not worry about it too much at the moment. |-v $(pwd):/home/rstudio | This maps the current directory (designated by $(pwd)) from which you are running the command to a folder inside the container (/home/rstudio). Thanks to this, when you use the containerized RStudio, you will have access to your local folder and will be able to run scripts and edit them. Instead of the current directory (designated by $(pwd)) you can provide /path/to/any/folder/on/your/computer. |-e PASSWORD=somepass | Sets the password. Better use a good password, even though you are running locally. |rstudio-custom | The final part is the name and tag that you assigned earlier when you were creating the container image. |When you see in the terminal:
[cont-init.d] done.
[services.d] starting services
[services.d] done.
Login to the Containerized RStudio
You can push the big OPEN PORT button in the top of Play with Docker page, enter 8787 and press ok. This will open a new browser tab for you. You will have to accept that the website is not enctypted and eventually you will see the RStudio window. You can login with rstudio as a user and somepass as password (unles you have changed the password in the command above).
Test the Containerized RStudio
You can now check if the RStudio running in this cloud container works as expected.
Stop the container
To stop the container, click the “power” button in the top right corner of the RStudio window in the browser. Close the web browser tab with RStudio. Click in the terminal and press Ctrl+C or Ctrl+\ to stop the container.
You should see:
[s6-finish] waiting for services.
[s6-finish] sending all processes the TERM signal.
[s6-finish] sending all processes the KILL signal and exiting.
And then the terminal will be active again.